As the holiday season approaches, there are a million different activities that kids love – however, Secret Secret is an overall classroom favorite! It’s a wonderful way to foster a sense of community among students. Organizing a Secret Santa gift exchange can be a daunting task if you don’t have the right tools available. In this blog post, I’ll tell you all about a stress-free approach to hosting a classroom Secret Santa, using my handy template to simplify the process.
Step 1: Set the Stage
The first step in organizing a successful Secret Santa exchange is creating an atmosphere of excitement. Begin by introducing the idea to your students and explaining the joy that comes from both giving and receiving thoughtful gifts. Highlight the importance of keeping the exchange a secret until the big reveal.
Step 2: Utilize a User-Friendly Secret Santa Gift Exchange Template
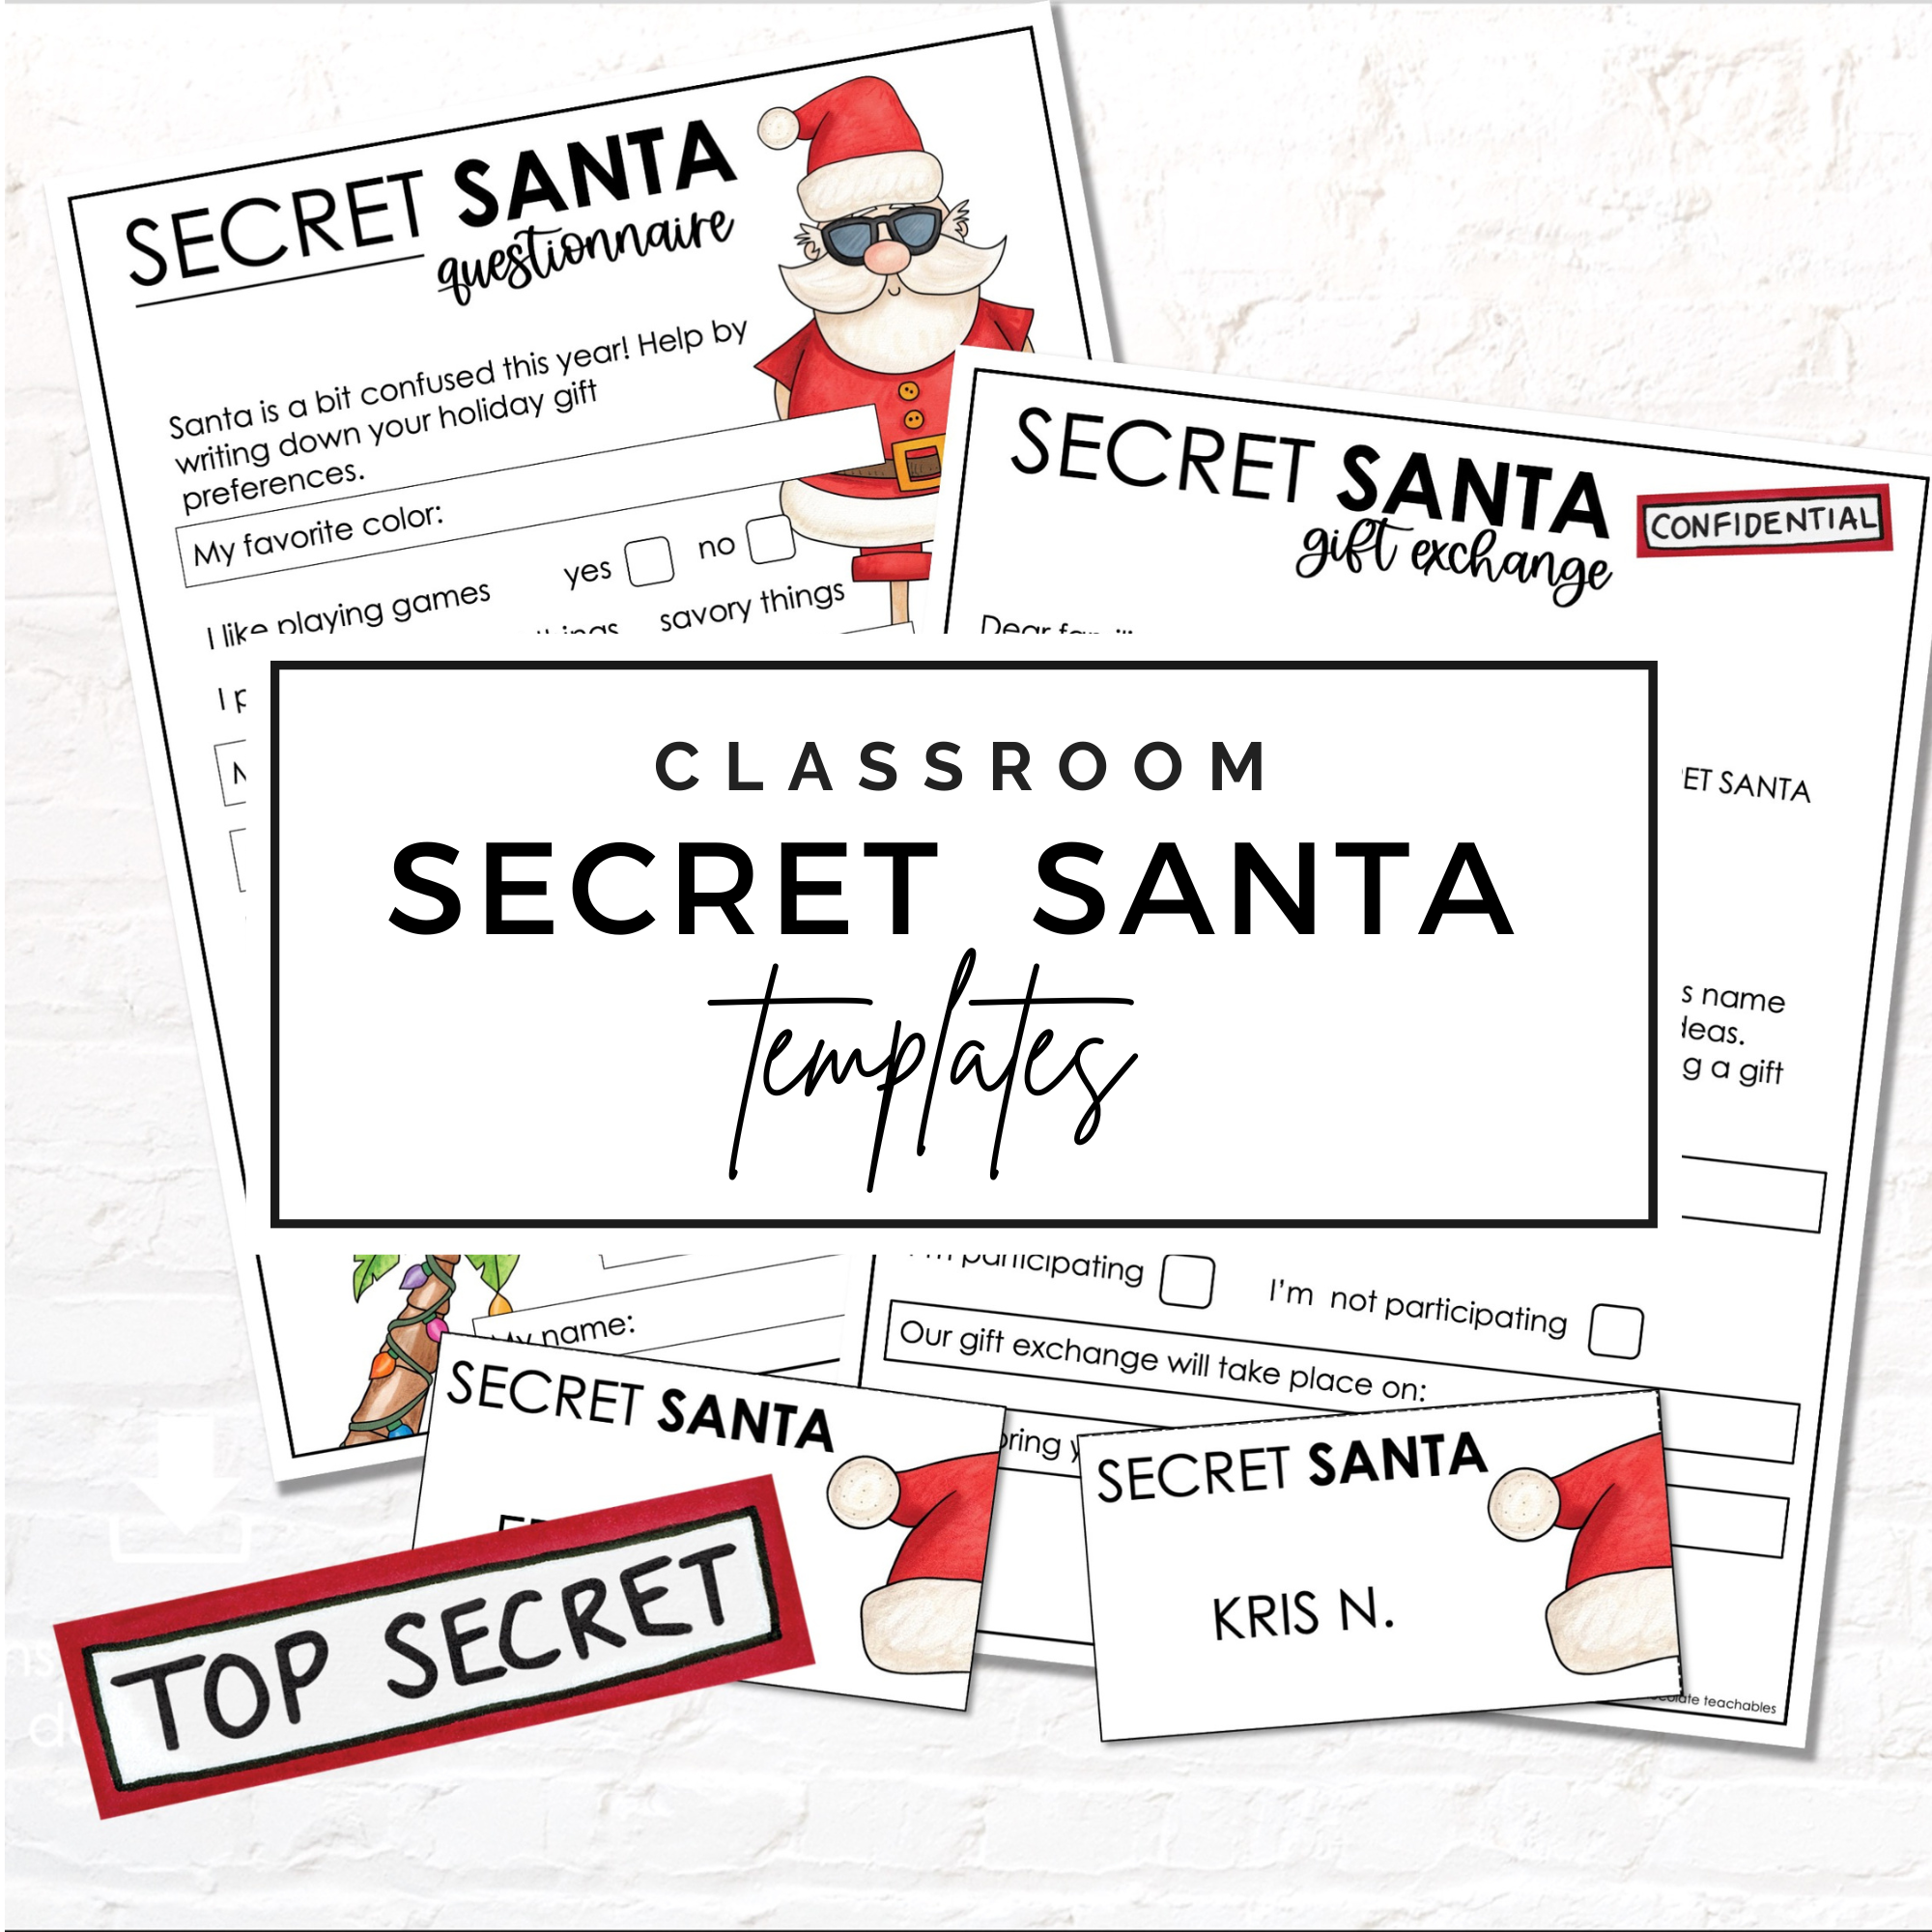
To streamline the process and make it stress-free for both you and your students, consider using a Secret Santa template like the one provided by Hot Chocolate Teachables. This template includes a questionnaire and explanation letters that guide students through the entire exchange. The easy-to-follow format ensures that everyone is on the same page and understands the expectations.

Here’s a link to the Classroom Secret Santa Gift Exchange Kit
Step 3: Distribute Secret Santa Questionnaires and Draw Names
Hand out the Secret Santa questionnaires included in the template to each student. These questionnaires are a crucial part of the process, as they allow students to share their preferences and interests with their Secret Santa. From favorite colors to hobbies and wish list items, the questionnaire ensures that the gift exchange is personalized and meaningful.

Step 4: Maintain Anonymity so that gift givers remain a secret
To keep the Secret Santa truly secret, emphasize the importance of confidentiality. Students will draw the name of a classmate and receive the chosen classmate’s questionnaire. Remind students not to disclose their chosen person and encourage the use of code names or subtle hints in gift exchanges to keep the guessing game enjoyable.
Here’s a link to the Classroom Secret Santa Gift Exchange Kit

Step 5: Explain the Secret Santa Gift Exchange Process
Include the provided explanation letters in your template to detail the timeline and expectations of the gift exchange. This ensures that everyone is aware of important dates, such as the deadline for submitting wish lists and the date of the gift exchange reveal.

Step 6: Create a Festive Christmas or Holiday Atmosphere
Enhance the festive spirit by decorating your classroom and designating a special area for the wrapped gifts. Encourage students to get creative with their wrapping and to add a personal touch to their presents.
Hosting a Secret Santa gift exchange in your classroom can be a heartwarming experience that builds a sense of community and joy among your students. By using a user-friendly template my Secret Santa Gift Exchange Kit you can simplify the process and make it easy for everyone involved. With the right planning and a touch of holiday magic, you’ll create lasting memories for your students that extend far beyond the classroom. Cheers to a season filled with warmth, laughter, and the spirit of giving!
Here’s a link to the Classroom Secret Santa Gift Exchange Kit
You also might enjoy reading this post abut some other engaging Christmas activities to use in the classroom.
Happy holidays,


